This bridge is a custom radius and so standard sectional track will not work. Flex track will work, but Marklin 3-rail flex track is very expensive at about $17 per meter. One of my goals for this layout (and life really) is to use materials I already have or purchase cheaper alternatives. I decided I would make my own 3-rail track.
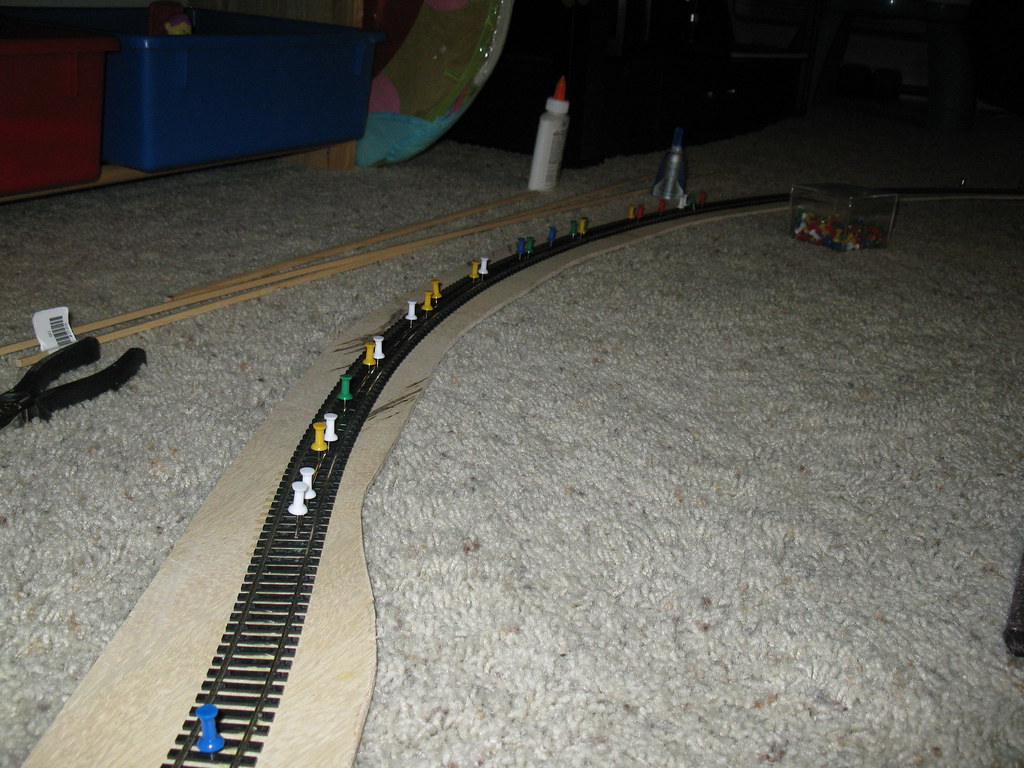
I used Atlas code 100 flex track with code 83 rail to use as the middle, third rail. I am pretty new at scratch building, so I tried a couple different ways to attach the rail to the ties.

First, I tried super glue. I thought that it would dry fast and allow me to work more quickly. It worked for a bit, but at the slightest torque, it lost grip on the metal rail. Next, I tried epoxy. This seemed to work, and is still holding. However, I had to use a lot more epoxy than desired because it didn't adhere to the plastic very well. The epoxy shows a lot more than I wanted to. I hope that if I ever put ballast down, it will hide most of it.

I used a pair of rails as the center rail to make it look more like guard rails. I know, I know, they are way too close together, but it looks a lot better than a single rail down the middle!
The last issue was joining the bridge track with the rest of the layout. Marklin C-track does not have rail joiners and their track profile is slightly different than Atlas's. I tried using rail joiners anyway, but they did not keep the rails vertically aligned. I instead screwed the deck down to the layout surface. This way I can remove the screw and then the bridge.

To finish it off, I filed the two end of the middle rails to allow the pickup shoes to transfer smoothly from the lower contact bumps of teh C-track to the full height of the center rail.

And... the finished product:
 |
 |

Thanks for reading,
Peter Lieber
No comments:
Post a Comment